Adding a Letting to the Emoov Website

For landlords looking for a superior level of service at a competitive rate, Emoov is ideally placed to locate that perfect tenant. Our standard £10 package includes listings on Zoopla, PrimeLocation and On the Market and puts you in the driving seat. Prospective tenants can contact you on the platform to arrange viewings or to submit enquiries, and you can schedule, re-arrange or cancel viewings at your convenience. Most importantly, you are not tied into a contract and can cancel at any time.
You are also able to select any of our optional extra features. The costs for these are displayed up-front so you can have complete confidence, knowing what you are spending without being stung by hidden costs further down the line.
If you haven't found the right tenant within the first 3 months, you can log into your account and renew the listing for another 3 months. Once the property has been let, the listing will come off the website, but it's easy to activate it again in the future if a lease ends and your tenant moves out.
You may be feeling a little daunted about starting the process with an online estate agent. However, adding a property for let to the website could not be simpler – here's how.
1. Create an Account
The first step is to create an account on the Emoov website. On the website home page, click on the CREATE ACCOUNT button in the top right-hand corner.

Once you have opened your account, you will be redirected to your Account Dashboard. This is where you will be able to manage your property listings, check your messages and keep track of any properties you are interested in buying or renting.
2. Add a Letting
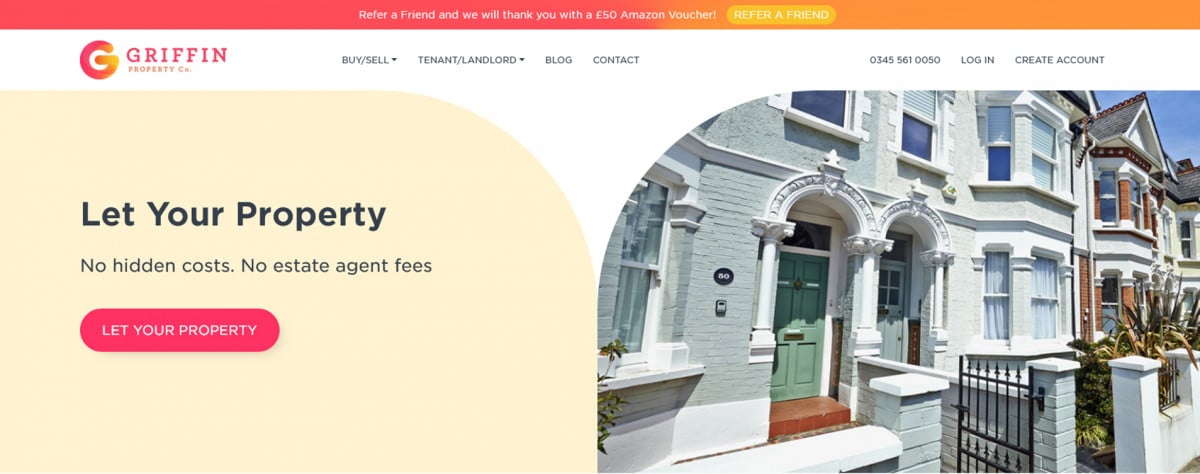
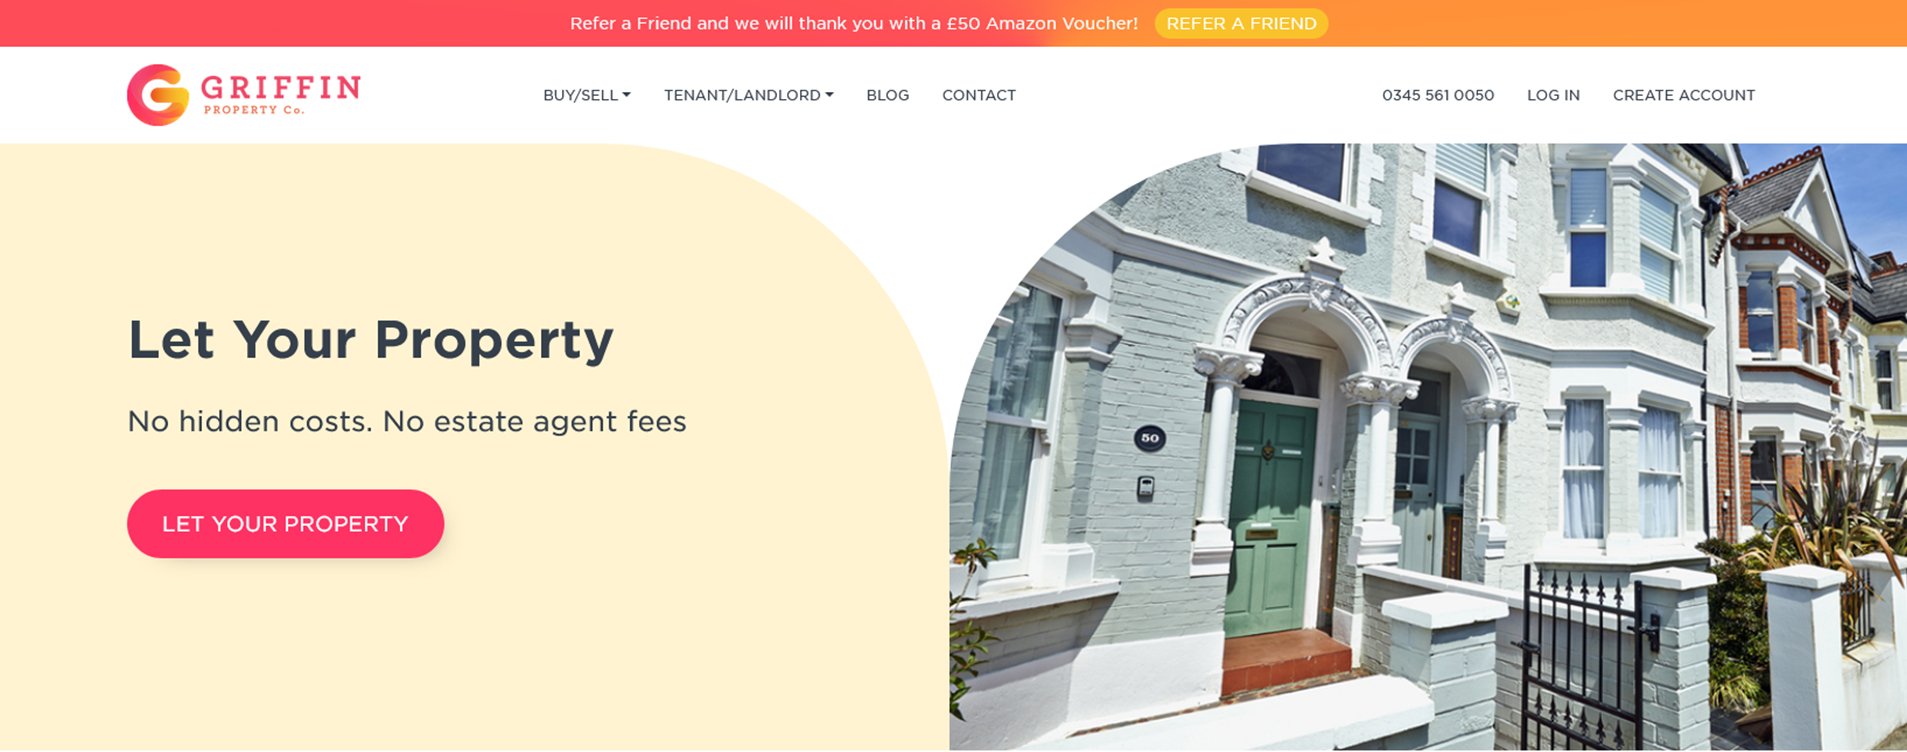
You are now ready to start the process of adding your property for let. Click on the TENANT/LANDLORD button and select LET YOUR PROPERTY from the drop-down menu. Alternatively, you can click on the LETTINGS tab, scroll down the page and click on the ADD A PROPERTY button in the large box on the left-hand side.
The following page gives you a complete overview of the optional extra features you can choose from and the costs of each one. Landlords can select all, some or none of them later in the process.Click on the LET YOUR PROPERTY button to proceed.

3. Main details
The next step is to begin adding the main details of your listing; property address, price per calendar month, required deposit and the date the property is available, among others. Once you have added the details, click SAVE AND CONTINUE to proceed to the next section. If you are short on time, you can click SAVE and return to the listing another time.
4. Photos and Description
Once the basic details have been added, it's time to add photos. You can add five of your own for free, pay £10 for an extra 10 or use our optional professional photography service for a fee of £90. You do not need to enter these details immediately and you can always come back later and update them if there is something you have missed out or forgotten.
This is also where you can add your property description. Make sure you include as much information about the property as possible and highlight any key features. The more descriptive you are, the more likely it is that your listing will attract tenants' attention.
5. Optional Features and Addons
From there, you will see a list of optional features that you can add to your package. It is entirely the landlord's decision to add some, all or none of them. These are the extras that we offer. You can find full details and prices on our Online Letting Agent page:
- A Rightmove Listing
- Energy Performance Certificate (this is a legal requirement and the EPC must be dated within ten years)
- Gas Certificate (only applicable to properties using gas)
- Tenancy Agreement
- Tenant References
- Rent and Deposit Collection
- Viewings Package
- Rent Guarantee with No Excess
- Rent Guarantee with 1 Month Excess
Once you have selected your features, click SAVE AND CONTINUE.
6. Review your Listing
The following page will show you a preview of your listing, which can be edited if necessary. If you are unsure of how to show your property in the best light, our phone lines are open Monday to Friday between 9am and 6pm. We are always on hand to offer advice.
If you are satisfied with your listing, tick the box that states 'I agree for my property to go live', and then SAVE AND CONTINUE.
7. Your Identification
The final step is to provide us with your identification documents, an essential step which must be completed to comply with anti-money laundering regulations. Upload a photo ID such as a passport or driving license, as well as proof of address.
Once you have uploaded the images, click SAVE & PUBLISH CHANGES.
8. Checkout and Pay
The next page gives a rundown of your package, selected extras and the payment due. If you would like your property to go live as soon as it is approved by Griffin then check the box (leave this unchecked if you haven't quite finished adding all the property details as you can come back to it later. Check the box to approve our terms and conditions then click the SUBMIT button and enter your payment details.
9. All Done
You're all set! Our lettings team will check your listing and once it has been approved, it will go live on our website and your chosen property portals.
If you would like to make amendments after the listing goes live, it's straightforward to do so. From the Account Dashboard page, select 'Properties I'm Letting' and then 'Manage Property' where you can edit the listing.
It's as simple as that! If you have any questions or need some advice, please call us on 0345 561 0050, or email us at lettings@emoov.co.uk.
Ready to list a property for let? Please click here.
Welcome to Your All-New Emoov Dashboard!
03.07.2025We’ve been busy behind the scenes designing a brand-new dashboard to make navigating Emoov smoother, faster, and more enjoyable. With a cleaner layout and powerful new features, managing your property journey has never been easier.

Your Dashboard: Rightmove Subscription
16.02.2024To ensure there are no interruptions to your property's marketing, your Rightmove subscription will automatically renew each month from the date your property goes live on the market.

Your Dashboard: Offers
16.02.2024If a prospective buyer decides they would like to buy your property, they will make an offer. When you receive an offer, we'll notify you by text and email. You can view the details of the offer in your messages. In the message, you'll see the amount offered and any conditions of the offer e.g. with furniture. Here is where you can accept or decline the offer.

Your Dashboard: Viewings
16.02.2024
Your Dashboard: Your messages
16.02.2024This is where all communication with prospective buyers will take place. You'll be notified via text and email when you receive a message. You can receive three different types of messages: general enquiries, viewing requests, and offers. The following sections will delve into each in more detail.

Your Dashboard: Properties I’m Interested In
16.02.2024In this section of your account, you can keep track of the properties you’re interested in. If you have sent an enquiry, requested a viewing, or made an offer on any other properties listed with us, they will be shown here.


